Guidelines for SOFTENG 206,
SOFTENG 281, and MECHENG 270
These instructions are provided to help you use Git (via GitHub) in
this course.
Follow these instructions carefully:
- Using Git throughout the assignment
- Sign Up to GitHub
- Accept assignment invitation and clone
the repository
- Using Git at the command
line
- Checking the commit worked
correctly
- Using a GUI client (not
recommended)
Using GitHub throughout the
assignment
If you are not making frequent commits to GitHub, you
may be penalised!
How frequent should you be
committing?
A good guideline is to make a commit for every
significant change or progress you make, such that you are able to write
a meaningful commit message for it.
For the academic purposes of
this course, you need to demonstrate (through the commit history) the
process you followed in coming up with your final
solution. Therefore, make sure there are no massive gaps in your trail
of commits.
Further to this, frequent commits will protect you in a number of
ways:
If you make devastating edits to your code, you can easily roll
back to a prior version.
If someone copies your work, your history of commits will back up
your story that you did your own work.
If your laptop or power fails 2 minutes before the deadline and
you do not submit on time, you have your commits to show you didn’t edit
the code after the deadline.
Learn an essential software development tool.
… and plenty more!
Do not swap around between different GitHub accounts for assignments in
the same course.
Sign Up to GitHub
First thing’s first. If you don’t already have an account to GitHub,
you will need to create one.
If you already have a personal GitHub account, you can just use that
— no need to create a new one.
Sign up to
GitHub.
Whatever GitHub account/username you use for the first course activity,
stick to it!
Don’t use a different account or username for
subsequent assignments, otherwise this will cause issues when it comes
to grading your work.
Accept assignment invitation and
clone the repository
Your lecturer will share with you an invitation link for GitHub
Classroom. Each assignment will have its own invitation link.
The first step involves cloning the GitHub assignment to your own
account. This will create a private copy of the code provided by the
lecturer, and will add it to your own GitHub account.
Click on the assignment invitation link provided by your
lecturer.
- If you are not already logged into GitHub, you will be prompted to
log in.
If this is the first time you access this course’s GitHub
invitation, you might be asked to select your name from the course
roster. Select your name/identity if prompted. If you don’t find your
name (despite it being the first time you access a GitHub Classroom
invitation link), let your lecturer know so they can link your account
to your name.
Click the Accept this assignment button as shown
below: 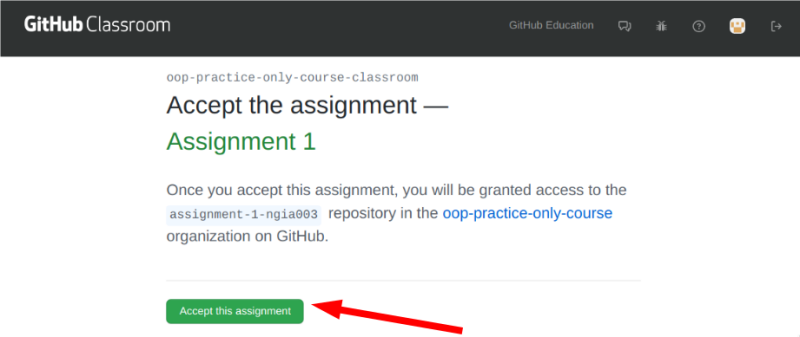
You will see the following processing taking place, wait for it
to complete: 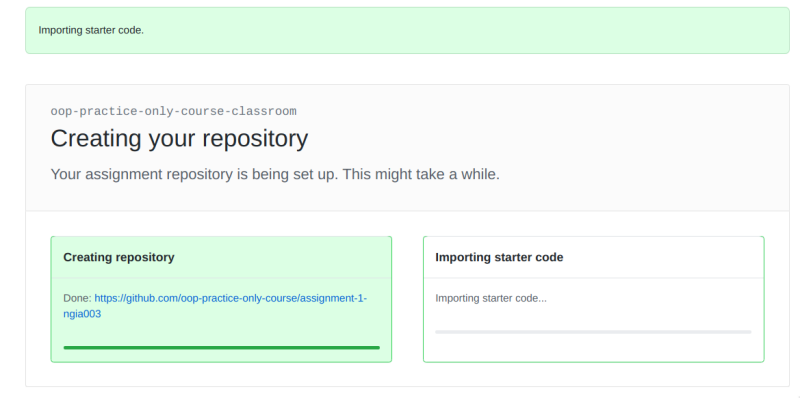
When you see the following page, click the URL of the cloned
repository as shown below: 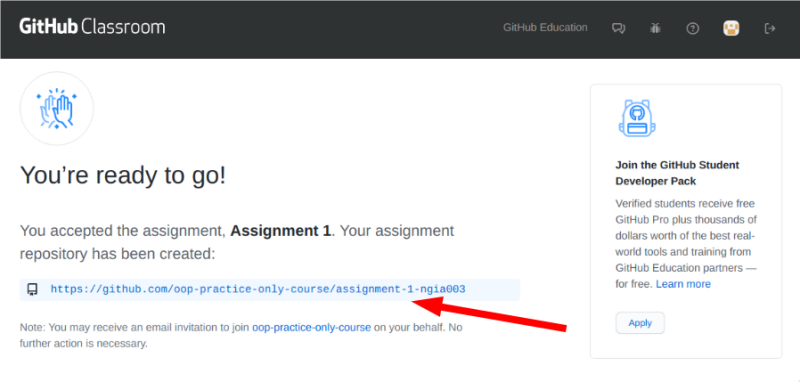
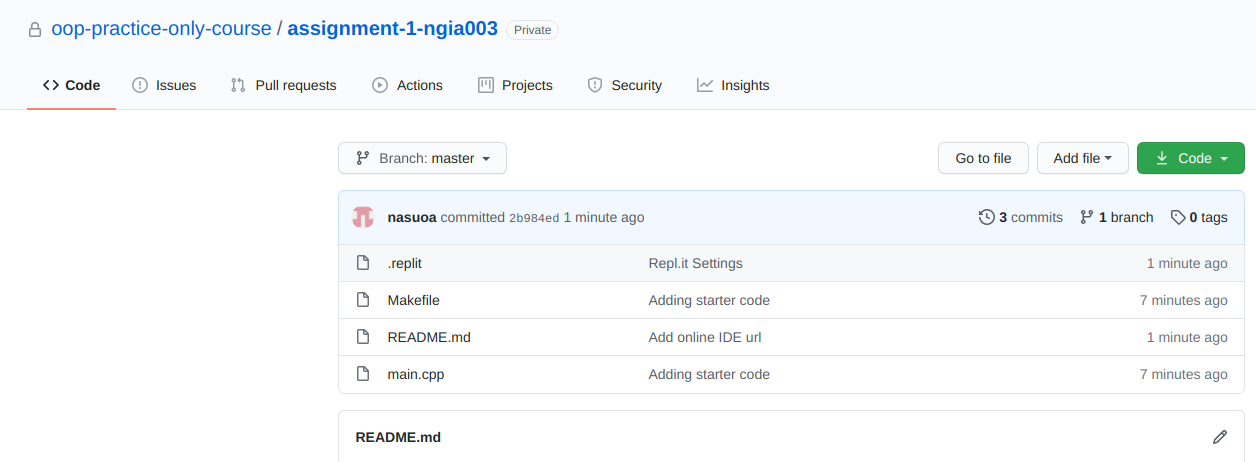
If you see the following page, you have successfully cloned the
assignment to your own GitHub repository:
Using Git at the command
line
It’s recommended to use the command line to make
commits to your GitHub repository.
Installing Git
First, you will need to install the git command line
tool. There are plenty of tutorials online to do this, depending on your
operating system.
Configuring Git (first time usage)
The first time you use Git at the command line, you might need to
configure your username, password, etc. Again, Google is your best
friend. But in a nutshell, you will need to:
- Set
up your user name and email at a glance (Chapter 8.1), or for more
details see:
- Create
a personal access token (PAT), and then
- Use
Git
Credential Manager to cache the PAT (select your OS from top of
page).
Let’s use Git!
Go to your GitHub repository page:
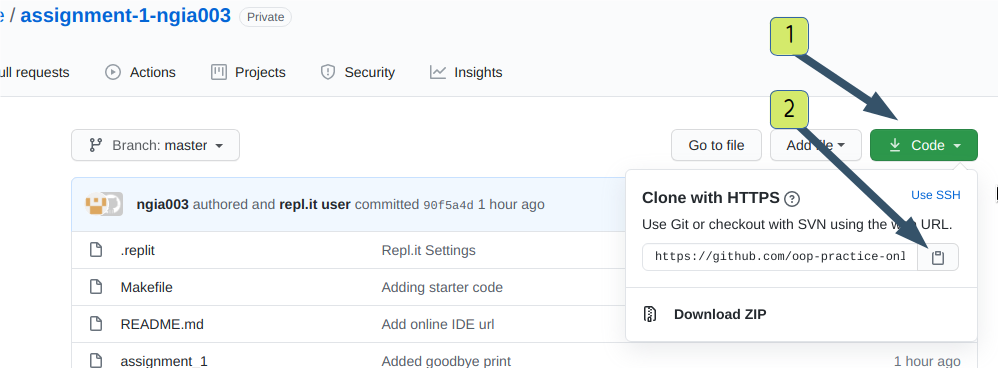
Press the Code button.
Click on the clipboard icon to copy the URL.
Determine where on your computer you would like to store your
repository. Go to that folder.
Type the following command, using the URL you got from the
earlier step above:
git clone URL-TO-REPO
If all goes well, you should be able to see a new folder (with
the name of your repository). This folder is known as the “local
repository”, which effectively is your local copy of
the (otherwise remote) repository that is stored on the GitHub
server.
When you edit your code, or add a new file, you will need to
“stage” (a Git term) these files to be ready to push to
the repo.
Go inside the folder that contains your local
repository.
Open the command line so that the working directory is inside the
repository.
Type the following command—it should tell you what changes are
local (on your computer, and not inside the remote repository).
git status
Type the following command to “add” all changes,
including new files:
git add .
HINT: The “.” is a shortcut that means “everything
inside the current working directory”.
If you want to be selective about what you want to stage to
commit, you can be explicit:
git add main.cpp
Commit all that is staged by typing the following:
git commit -m “Fix bug causing duplicate messages
shown to the user”
HINT: If you accidentally forget the -m
option and need to get out of vim:
Press Ecs, then type :wq, then
press Enter.
While the commit part is done, the commit is only made locally
(i.e., your local repository). You still need to “push”
this to the remote repository:
git push -u origin main
HINT: If you are using an older repo, it might be
master instead of main, i.e.:
git push -u origin master
You should double check that the
commit was pushed to the remote repository correctly.
Checking the commit worked
correctly
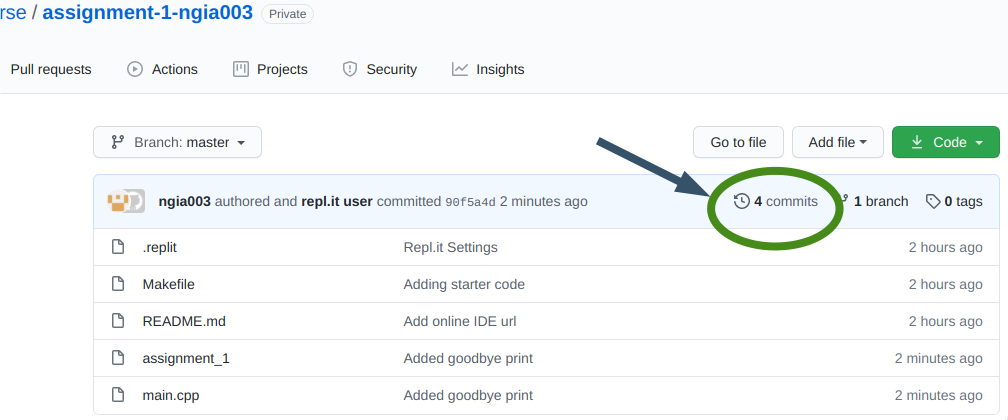
If you want to double-check the commit went through to GitHub
correctly, do the following.
From your GitHub assignment repository, click on the
commits link:
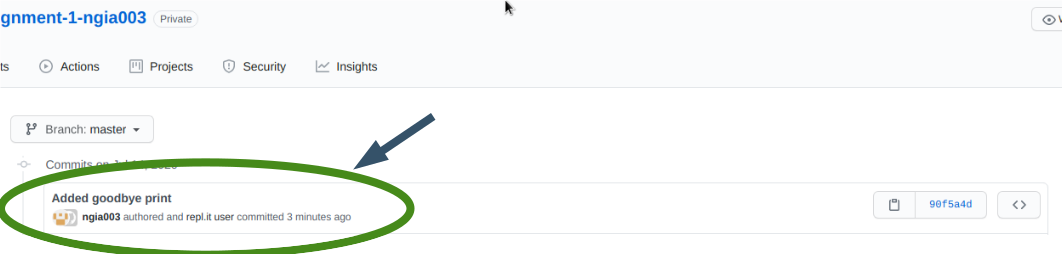
You should be able to see the commit details listed here
also:
Using a GUI client [not
recommended]
We mention this option as you might come across it. However, we
discourage you from using such GUI tools or IDE plugins to manage your
Git repositories.
Such tools abstract away a lot of important
concepts, and in the long run are not helping you learn what is going
on.
A Git GUI client is an alternative to using the command line to push your commits.
There are plenty of options here, depending on your operating system and
personal preferences. For example, you might come across GitHub
Desktop, or other plugins that integrate into the popular IDEs.
As stated above, we recommend you stick to the command line
option.